
You want to make a YouTube video. Great. You filmed something. Maybe it is a vlog. Maybe it is a gaming clip. Maybe it is your cat looking offended. Now you need to edit it. Do not panic. Editing is not magic. It is more like making a sandwich. You choose the best pieces, trim the messy parts, add flavor, and serve it nicely.
TLDR: Pick simple editing software, cut out boring parts, add clear sound, and make the video easy to watch. Use basic cuts first before trying fancy effects. Export in the right settings for YouTube. Then upload with a strong title, thumbnail, description, and tags.
Start With the Right Mindset
Beginner editing should be simple. Your goal is not to create a Hollywood trailer on day one. Your goal is to make a video that people can watch without getting confused or bored.
Think of editing as cleaning up the story. You remove mistakes. You fix silence. You add music. You make the beginning strong. You make the ending clear.
Good editing is invisible. Viewers should not think, “Wow, that was edited.” They should think, “That was fun. I want more.”
Choose Beginner Friendly Software
You do not need expensive software to start. Many great editing apps are free or low cost. The best one is the one you will actually use.
- CapCut: Great for beginners. Simple tools. Fast editing. Good for shorts and regular videos.
- DaVinci Resolve: Very powerful. Free version is amazing. Best if you want to grow into pro editing.
- iMovie: Easy and clean. Great for Mac and iPhone users.
- Clipchamp: Simple browser based editor. Good for quick edits on Windows.
- Adobe Premiere Rush: Easier than Premiere Pro. Good for simple social videos.
If you feel lost, choose CapCut or iMovie first. If you like learning and want more control, choose DaVinci Resolve.

Organize Your Files Before Editing
This sounds boring. It is also a lifesaver. Before you open your editor, make a folder for your project.
Create simple folders like these:
- Footage for your video clips.
- Audio for voice, music, and sound effects.
- Images for logos, screenshots, and graphics.
- Exports for finished videos.
Name your files clearly. “video final final real FINAL 2.mp4” is a trap. A scary trap. Use names like “cooking intro” or “gaming clip round one.”
Learn the Timeline
The timeline is where the magic happens. It is the long strip where your clips live. You place video, audio, music, text, and graphics there.
Most editors work in layers. Video clips usually sit on top tracks. Audio sits below. If you drag a clip to the right, it happens later. If you drag it left, it happens earlier.
Your timeline may look strange at first. That is normal. After one or two videos, it will feel much less weird.
Make the First Cut
The first cut is rough. Do not worry about perfection. Watch your footage and remove the obvious bad parts.
Cut these things:
- Long pauses.
- Camera bumps.
- Repeated sentences.
- “Umm” moments that feel too long.
- Parts that do not help the video.
Be brave. Beginners often keep too much. If a clip does not help, cut it. The trash bin is your friend. A slightly shorter video is often a better video.
Use Simple Cuts First
There are many types of video cuts. Some sound fancy. You only need a few to begin.
- Standard cut: One clip ends. The next clip begins. Simple and useful.
- Jump cut: A cut within the same shot. Good for removing pauses in talking videos.
- Cutaway: A clip that shows something related. For example, you talk about coffee, then show coffee.
- Match cut: A cut where two shots look or move in a similar way. Fun, but optional.
Do not add wild transitions to every cut. Spinning cubes and lightning flashes can look funny. But they can also make your video feel messy. Use transitions only when they help.
Keep the Beginning Fast
The first 10 seconds are very important. People decide quickly. They can leave with one tiny thumb movement. Rude, but true.
Start with a hook. Tell viewers what they will get. Show the best moment early. Ask a fun question. Make them curious.
Examples:
- “Today I am fixing my worst setup mistake.”
- “I tried this recipe, and it almost attacked me.”
- “Here are three editing tricks I wish I knew sooner.”
Do not start with two minutes of “Hey guys, welcome back.” Keep it warm, but quick. Your future audience will thank you.
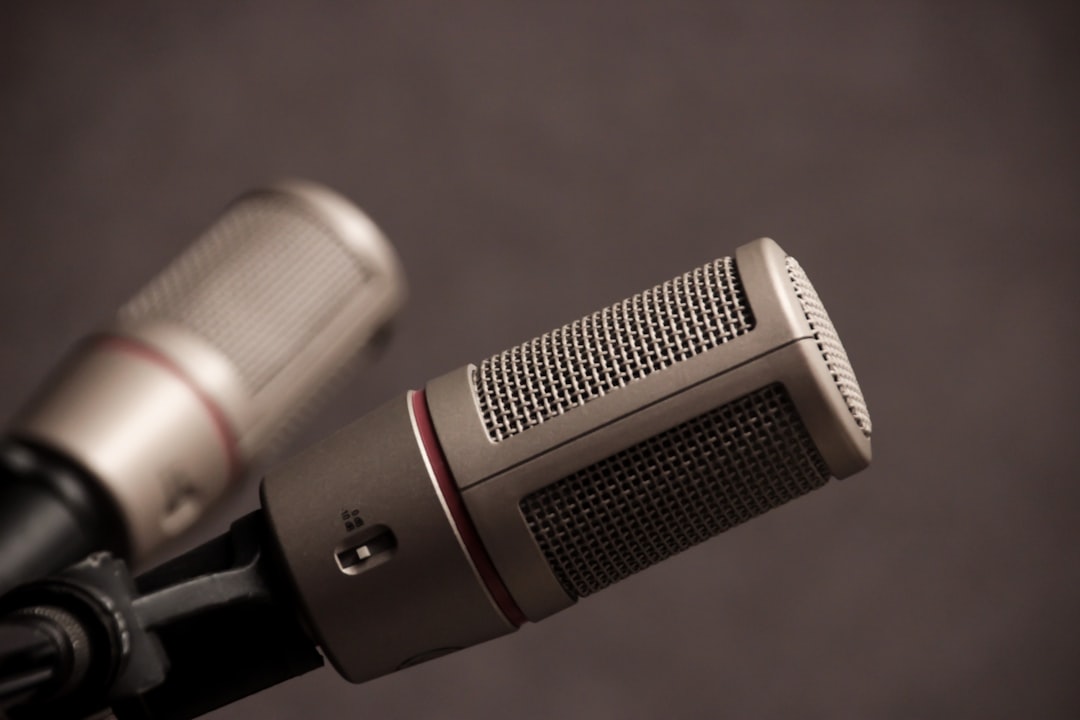
Fix the Audio
Bad video can survive. Bad audio is harder. If viewers cannot hear you, they may leave fast.
First, make your voice clear. Lower music if it fights with your voice. Remove loud pops if you can. Keep volume steady.
Most editing software has simple audio tools. Look for:
- Volume controls to raise or lower sound.
- Noise reduction to reduce hum or fan noise.
- Fade in and fade out to make music smoother.
- Audio meters to check if sound is too loud.
Try using headphones while editing. Laptop speakers lie. Headphones tell the truth.
Add Music Without Going Wild
Music adds mood. It can make a simple video feel alive. But music should support the video, not wrestle it.
Use quiet background music for talking parts. Use louder music for montages. Fade music in and out so it does not start like a jump scare.
Also, use music you are allowed to use. YouTube has an Audio Library. Many services offer royalty free music. Always check the license. Copyright claims are not fun. They are the broccoli of content creation.
Add Text and Graphics
Text can help viewers follow along. Use it for names, steps, jokes, prices, or key points.
Keep text short. Make it large enough to read. Use colors that stand out. Do not cover faces unless the face deserves it.
Good text ideas:
- Step numbers.
- Important tips.
- Funny reactions.
- Before and after labels.
- Quick reminders.
Use the same style through the whole video. This makes your channel feel more polished. Even if you are editing in pajamas.
Use B Roll to Make Videos Better
B roll is extra footage that supports your main video. If you are talking to the camera, that is your main shot. If you show your desk, your hands, your screen, or the thing you are discussing, that is B roll.
B roll keeps the video moving. It hides cuts. It helps explain ideas. It also gives viewers something fresh to see.
For example, if you are making a video about editing, show your timeline. Show your mouse clicking. Show the before and after. Simple shots work.
Color Correction for Beginners
Color correction sounds fancy. It just means making your video look normal and nice.
Start with basics:
- Brightness: Can viewers see what is happening?
- Contrast: Does the image look flat or clear?
- White balance: Does the video look too blue or too orange?
- Saturation: Are colors too dull or too intense?
Do not overdo it. If skin looks like a tomato, reduce saturation. If everything looks like a cold fish tank, warm it up.
Edit for Pace
Pacing is how fast your video feels. A slow video can be relaxing. It can also be boring. A fast video can be exciting. It can also be exhausting.
Match the pace to your content. A calm tutorial can breathe. A funny challenge should move faster. A gaming video may need quick cuts and zooms.
Watch your video and ask, “Would I keep watching?” Be honest. If your answer is “maybe after a snack,” cut more.
Do a Final Watch
Before exporting, watch the full video from start to finish. Yes, the whole thing. No skipping.
Check for:
- Black screens.
- Missing audio.
- Text mistakes.
- Sudden loud music.
- Awkward cuts.
- Clips in the wrong order.
If possible, watch it on another device too. A phone screen can reveal problems you missed on your computer.
Export With the Right Settings
Exporting turns your project into a video file. For YouTube, use settings that keep quality high without creating a monster file.
Good beginner settings:
- Format: MP4.
- Codec: H.264.
- Resolution: 1920 by 1080 for standard HD.
- Frame rate: Match your footage, often 24, 30, or 60 fps.
- Bitrate: Use your editor’s YouTube preset if available.
If you filmed in 4K, you can export in 4K. But HD is fine for many beginners. Faster upload. Smaller file. Less waiting. More snacks.
Make a Better Thumbnail
Your thumbnail is the tiny poster for your video. It matters a lot. A good thumbnail makes people curious.
Use a clear image. Show a face if it fits. Use large text, but only a few words. Make sure it looks good on a phone.
Thumbnail tips:
- Use bright, clear images.
- Show the main idea fast.
- Keep text short.
- Use contrast.
- Do not make it too crowded.

Write a Strong Title
Your title should be clear and interesting. It should tell people what the video is about. It should also give them a reason to click.
Bad title: “My Video.”
Better title: “I Edited My First YouTube Video in One Hour.”
Another better title: “5 Beginner Editing Mistakes I Fixed Fast.”
Use keywords people might search for. But do not stuff the title with nonsense. Humans are reading it. Not just robots in tiny office chairs.
Write a Helpful Description
The description helps YouTube understand your video. It also helps viewers find links, chapters, and extra info.
Include:
- A short summary of the video.
- Important links.
- Chapters or timestamps.
- Credits for music or footage if needed.
- A simple call to action.
Chapters are useful. They let viewers jump to sections. Use a format like this:
- 0:00 Intro
- 0:35 Picking software
- 2:10 Basic cuts
- 4:20 Export settings
Use Tags and Categories
Tags are not as powerful as they used to be. But they can still help with spelling mistakes and related topics. Add a few simple tags that match your video.
Choose the right category too. If it is a tutorial, choose education or how to. If it is gaming, choose gaming. Keep it honest.
Upload and Check Everything
When your video uploads, YouTube will process it. HD may take extra time. Do not panic if it looks blurry at first. Wait a little.
Before publishing, check:
- Title.
- Description.
- Thumbnail.
- Audience settings.
- Visibility.
- End screen.
- Cards if needed.
Add an end screen to suggest another video. This helps people keep watching your channel. It is like saying, “Wait, there is more cake.”
Keep Improving With Each Video
Your first edit may be messy. That is normal. Everyone starts somewhere. The secret is to finish videos and learn each time.
After uploading, look at your analytics. Check where people stop watching. Look at clicks on your thumbnail. Read comments if they are helpful. Ignore weird comments from internet goblins.
For your next video, improve one thing. Better audio. Faster intro. Cleaner cuts. Stronger thumbnail. One small upgrade per video adds up fast.
Final Thoughts
Editing YouTube videos is a skill. You build it by doing it. Start with simple software. Make clean cuts. Fix your audio. Add music, text, and B roll when they help. Export with the right settings. Upload with a clear title and a strong thumbnail.
Do not wait until you are perfect. Perfect is slow. Finished is better. Make the video. Learn from it. Then make the next one even better.