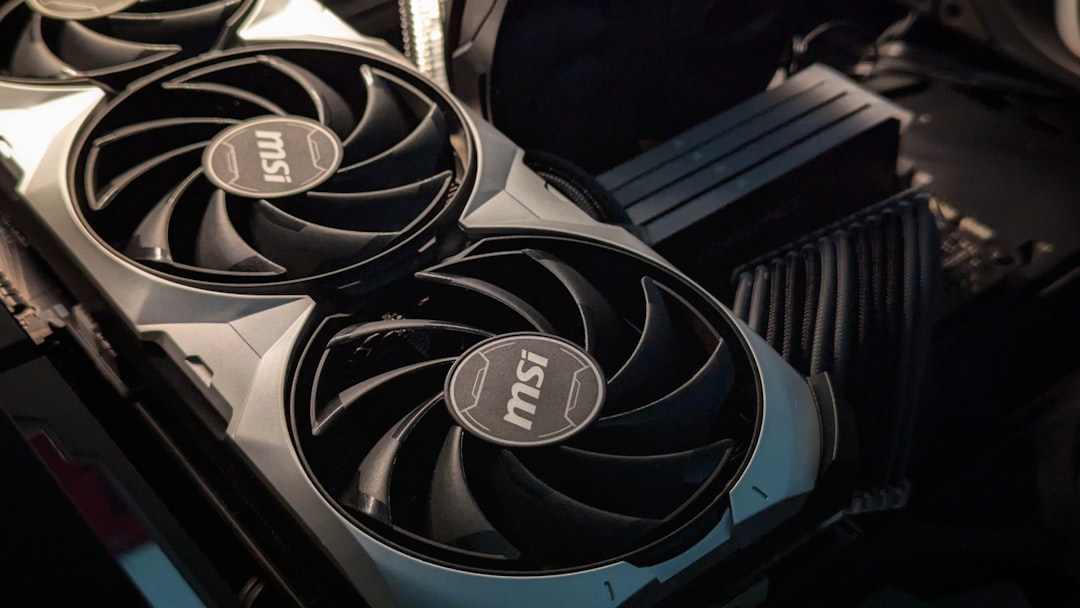
MSI Afterburner is one of the most widely used tools for graphics card overclocking and monitoring. Whether you want to increase gaming performance, track temperatures, or fine-tune your GPU for stability, this software provides the essential controls in a single interface. With proper understanding and careful adjustments, even beginners can use it safely and effectively. This guide explains how to install, configure, overclock, and monitor your system using MSI Afterburner.
TLDR: MSI Afterburner is a free utility that allows you to monitor and overclock your GPU. Start by installing the software, familiarizing yourself with the main sliders, and enabling hardware monitoring. Increase clock speeds gradually while stress testing for stability and watching temperatures. Save stable profiles and avoid extreme changes to protect your hardware.
What Is MSI Afterburner?
MSI Afterburner is a free graphics card utility compatible with most GPUs, not just MSI models. It allows users to adjust clock speeds, voltage, fan curves, and power limits. In addition, it includes powerful real-time monitoring tools and an on-screen display (OSD) for tracking performance while gaming.
Key features include:
- Core Clock adjustment
- Memory Clock adjustment
- Power Limit and Temperature Limit controls
- Custom fan curve configuration
- Hardware monitoring graphs
- On-screen display while gaming
- Profile saving and switching
Understanding Overclocking Basics
Overclocking means increasing your GPU’s clock speeds beyond factory settings to gain additional performance. This can lead to:
- Higher frame rates in games
- Smoother gameplay
- Better benchmark scores
However, overclocking also increases:
- Power consumption
- Heat output
- Risk of instability if pushed too far
It is essential to proceed gradually and monitor system behavior closely.
How to Install MSI Afterburner
- Download the latest version from the official MSI website.
- Run the installer and follow on-screen instructions.
- Ensure that RivaTuner Statistics Server (RTSS) is installed alongside it. This enables the on-screen display feature.
- Restart your computer if prompted.
Once installed, launch MSI Afterburner. You will see multiple sliders and monitoring panels.
Explaining the Main Controls
Before adjusting anything, understand what each slider does:
- Core Voltage: Controls voltage supplied to the GPU core. Beginners should avoid changing this unless necessary.
- Power Limit: Sets the maximum power your GPU can draw.
- Temperature Limit: Determines the maximum temperature before throttling.
- Core Clock: Adjusts the GPU processing speed.
- Memory Clock: Adjusts memory frequency for better bandwidth.
- Fan Speed: Controls cooling performance.
Tip: Start with Power Limit and Core Clock adjustments. Leave voltage changes for advanced users.
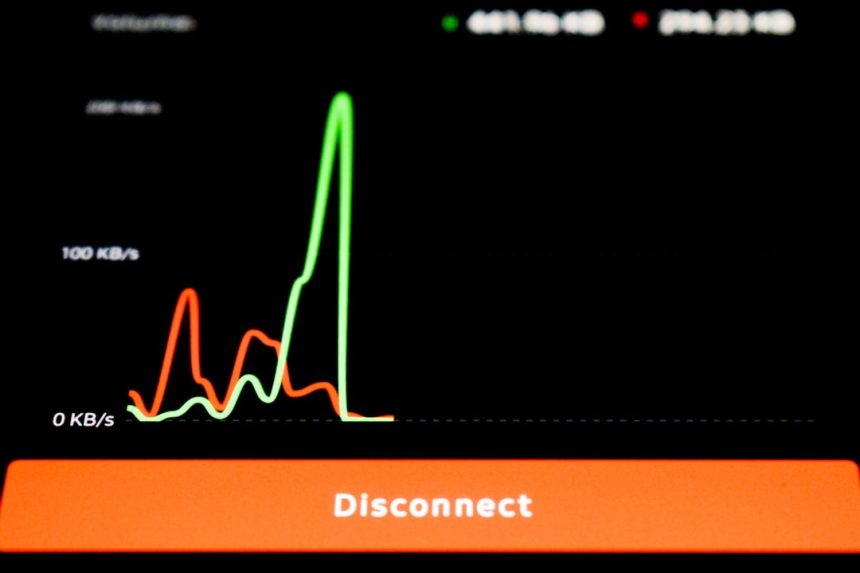
Setting Up Hardware Monitoring
Monitoring is critical for safe overclocking. Click the Settings icon and open the Monitoring tab.
Enable these metrics:
- GPU temperature
- GPU usage
- Core clock
- Memory clock
- Power consumption
- Fan speed
- Frame rate
Check “Show in On-Screen Display” for the metrics you want visible during gameplay.

Step-by-Step Guide to Overclocking
1. Increase Power Limit
Move the Power Limit slider to the maximum allowed value. This gives your GPU room to draw additional power safely within manufacturer limits.
2. Adjust Core Clock Gradually
Increase the Core Clock by small increments (10–20 MHz at a time).
- Apply the change.
- Run a stress test or a demanding game for 10–15 minutes.
- Watch for crashes, flickering, or visual artifacts.
If stable, increase again. If unstable, reduce by 10–20 MHz.
3. Adjust Memory Clock
Repeat the process with the Memory Clock. Increase gradually and test stability.
4. Stress Testing
Use benchmarking tools like:
- 3DMark
- Unigine Heaven
- FurMark (use cautiously)
Let tests run for at least 20–30 minutes. Stability over extended sessions is more important than peak performance numbers.
Creating a Custom Fan Curve
Higher clock speeds generate more heat. To keep temperatures under control:
- Open Settings.
- Navigate to the Fan tab.
- Enable User-defined software automatic fan control.
This allows you to create a curve where fan speed increases as temperature rises.
Example baseline curve:
- 40°C – 30% fan speed
- 60°C – 50% fan speed
- 75°C – 70% fan speed
- 80°C+ – 85–100% fan speed

Saving Profiles
Once you find stable settings:
- Click the Save button.
- Select a profile number.
- Optionally enable Apply overclocking at system startup.
It is advisable to keep:
- One default profile
- One moderate overclock profile
- One maximum stable overclock profile
This gives flexibility depending on workload and temperature conditions.
Common Mistakes to Avoid
- Increasing voltage immediately
- Making large clock jumps
- Ignoring high temperatures (above 85°C consistently)
- Failing to stress test properly
- Relying only on short benchmark runs
Slow, incremental adjustments are significantly safer.
Monitoring Without Overclocking
Even if you do not plan to overclock, MSI Afterburner is valuable for monitoring:
- Detecting thermal throttling
- Diagnosing performance bottlenecks
- Checking if fans operate correctly
- Comparing performance before and after driver updates
Many users install it purely for the on-screen display feature.
Is Overclocking Safe?
When done responsibly, GPU overclocking is generally safe. Modern graphics cards include:
- Thermal throttling protections
- Power draw limits
- Automatic shutdown safeguards
However, extreme voltage adjustments can reduce component lifespan. Keeping temperatures below 80–85°C during load is a practical rule for long-term reliability.
Final Thoughts
MSI Afterburner remains one of the most reliable and versatile GPU tools available. For beginners, its interface may seem intimidating at first, but its design allows precise, controlled adjustments. Monitoring should always accompany overclocking, and patience is essential to achieving stable, safe results.
By increasing clock speeds gradually, testing thoroughly, and watching temperatures carefully, you can unlock additional performance without compromising system stability. Whether you are a gamer seeking higher frame rates or a performance enthusiast exploring hardware limits, MSI Afterburner provides the tools needed to proceed confidently and responsibly.