
Subscriptions make life easier—until you forget about them and see another charge on your bank statement. If you’ve decided to stop using Facetune, it’s important to cancel your subscription the right way. Simply deleting the app won’t stop the billing, and many users find themselves unexpectedly charged for another month or even another year. Thankfully, canceling Facetune on iPhone, Android, or desktop is straightforward once you know where to look.
TLDR: To avoid being charged again for Facetune, you must cancel it through the platform where you originally subscribed—App Store for iPhone, Google Play for Android, or directly through your desktop account if purchased online. Deleting the app does not cancel the subscription. Make sure to cancel at least 24 hours before the renewal date and confirm you receive a cancellation confirmation. Always double-check your subscription status to ensure auto-renewal is turned off.
Why It’s Important to Cancel the Right Way
Facetune operates on a recurring subscription model. That means once you subscribe—whether monthly or yearly—the payment automatically renews unless you manually turn it off. Many users assume removing the app from their phone cancels their plan, but that’s not how subscriptions work.
To prevent future charges, you need to:
- Cancel through the same platform used to purchase the subscription
- Confirm the cancellation request was processed
- Cancel at least 24 hours before the renewal date
If you skip any of these steps, you may still be billed.
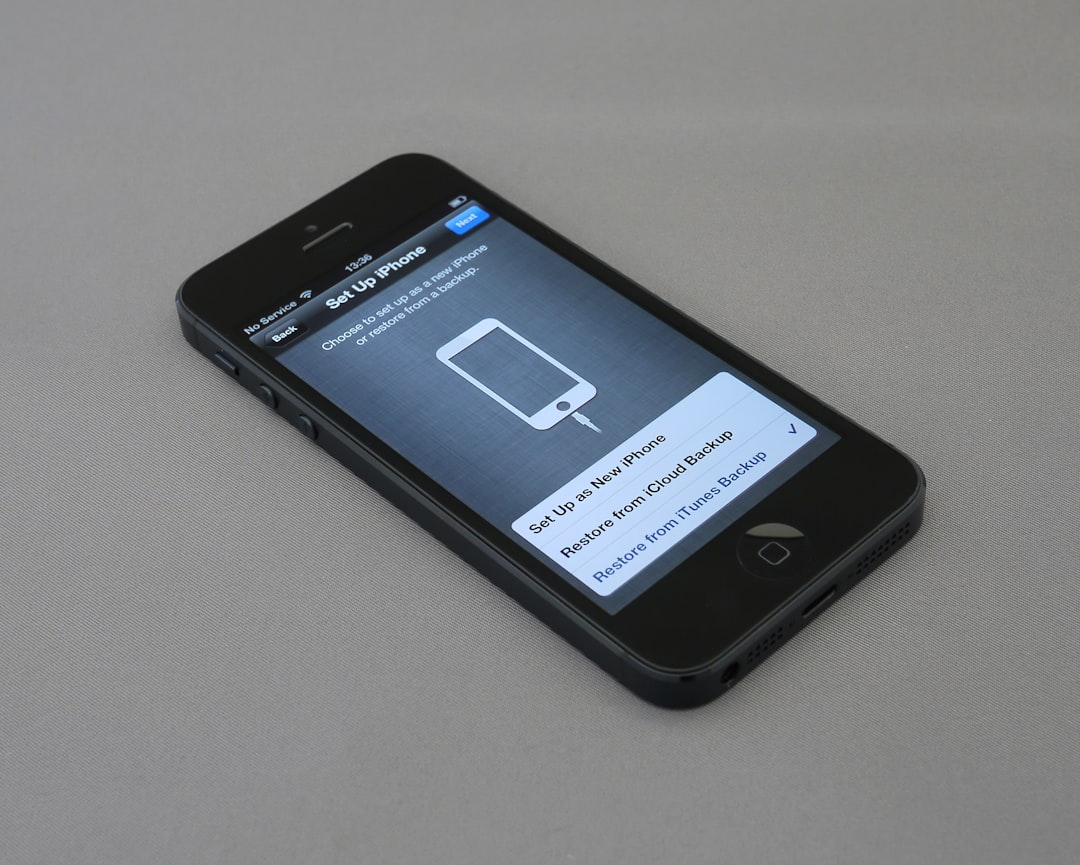
How to Cancel Facetune on iPhone
If you subscribed to Facetune through the Apple App Store, your subscription is managed by Apple—not Facetune directly. Here’s how to cancel it correctly:
- Open the Settings app on your iPhone.
- Tap your Apple ID (your name at the top).
- Select Subscriptions.
- Find and tap Facetune in your active subscriptions list.
- Tap Cancel Subscription.
- Confirm when prompted.
Once canceled, you’ll still have access to premium features until the end of your current billing cycle. Apple does not typically offer automatic refunds for partial months, but you may request one through Apple Support if you believe you were wrongly charged.
Important tip: If you don’t see Facetune in your subscription list, make sure you’re signed into the correct Apple ID. Some users accidentally subscribe using a secondary account.
How to Cancel Facetune on Android
Android users who subscribed through Google Play must manage their subscription within the Play Store. The process is simple and only takes a few minutes.
- Open the Google Play Store app.
- Tap your profile icon in the top right corner.
- Select Payments & subscriptions.
- Tap Subscriptions.
- Find and select Facetune.
- Tap Cancel subscription.
- Follow the prompts to confirm.
After cancellation, Google Play will send you a confirmation email. Keep this email for your records in case any billing disputes arise later.
Just like with Apple, your access will continue until the current billing period ends. Canceling stops future charges but does not immediately remove premium features.
How to Cancel Facetune on Desktop
If you subscribed directly through the Facetune website using a credit card or PayPal, the cancellation process happens on your desktop browser.
- Visit the official Facetune website.
- Log into your account.
- Go to Account Settings or Billing.
- Locate your active subscription details.
- Select Cancel Subscription.
- Confirm your cancellation.
If you cannot find the cancellation option, check the confirmation email you received when you first subscribed. It may include specific billing instructions or show whether a third-party processor manages your subscription.
What Happens After You Cancel?
After successful cancellation, here’s what you can expect:
- You keep premium access until your paid period ends
- Your account reverts to the free version afterward
- No new charges should appear after the billing date
If you are on a yearly plan, you’ll retain access for the remainder of that year. If you’re on a monthly plan, access typically ends at the close of your current 30-day cycle.
How to Check If Your Subscription Is Really Canceled
Peace of mind comes from verification. Don’t just assume it worked—double-check.
On iPhone:
- Go back to Settings → Apple ID → Subscriptions
- Facetune should say Expires on [date] rather than Renews on [date]
On Android:
- Open Google Play → Subscriptions
- Facetune should show a cancellation notice with an expiration date
On Desktop:
- Check your billing section for cancellation confirmation
- Look for a confirmation email
If you do not see confirmation, assume it hasn’t been completed and repeat the process.
Common Mistakes That Lead to Another Charge
Many users get charged again because of small but critical errors. Avoid these common pitfalls:
- Deleting the app without canceling the subscription
- Canceling less than 24 hours before renewal
- Using the wrong Apple ID or Google account
- Confusing Facetune with Facetune Video (separate subscriptions)
Always double-check which version of the app you’re subscribed to, especially if you’ve installed multiple editing apps from the same developer.
What If You Were Already Charged?
If you notice a charge after attempting cancellation, act quickly.
For iPhone users:
- Visit reportaproblem.apple.com
- Log in with your Apple ID
- Select the charge and request a refund
For Android users:
- Go to play.google.com
- Navigate to Order History
- Request a refund if eligible
Refund approval depends on timing and platform policies. Typically, refund requests made within 48 hours of billing have a higher chance of approval.
How to Turn Off Auto-Renew Immediately After Subscribing
If you signed up for a free trial but don’t want to be billed, cancel right away. Canceling during the trial will not end your access immediately—you’ll still have premium features for the length of the trial period.
This is one of the safest ways to explore paid features without the risk of forgetting about the renewal date.
Should You Downgrade Instead of Cancel?
If cost is the main concern, consider whether switching from a yearly to a monthly plan—or vice versa—might make sense. Some subscriptions offer pricing flexibility depending on your editing needs.
That said, if you’re no longer using the app consistently, full cancellation is often the smarter financial move.
Final Tips to Avoid Subscription Surprises
Managing subscriptions proactively saves money and frustration. Here are some habits worth adopting:
- Set a calendar reminder a few days before renewal
- Review active subscriptions monthly in your device settings
- Keep billing emails in a dedicated folder
- Use one primary account for all purchases to avoid confusion
Facetune can be a powerful editing tool, but if it’s no longer serving your needs, there’s no reason to keep paying for it. The key takeaway is simple: cancel through the correct platform, verify the cancellation, and keep your confirmation email. Follow those steps, and you won’t have to worry about another unexpected charge appearing on your statement.
By staying informed and proactive, you stay in control of your subscriptions—not the other way around.