Replacing the motherboard on an Eagle-1 Slide device can seem intimidating for beginners, but with the right information and a clear guide, it becomes manageable. The Eagle-1 Slide is a high-performance unit often used in both home and professional setups, and replacing its motherboard is a critical task best approached with care and proper preparation.
In this guide, we provide essential tips and steps for beginners who are considering a motherboard replacement. This process involves dealing with delicate electronic components, so understanding each stage is vital. If not handled correctly, you could cause irreversible damage to the unit.
What to Prepare Before You Begin
Before diving into the replacement process, gather the necessary tools and ensure your work environment is clean and static-free. Here’s a recommended checklist:
- Anti-static wrist strap (to prevent damage from static electricity)
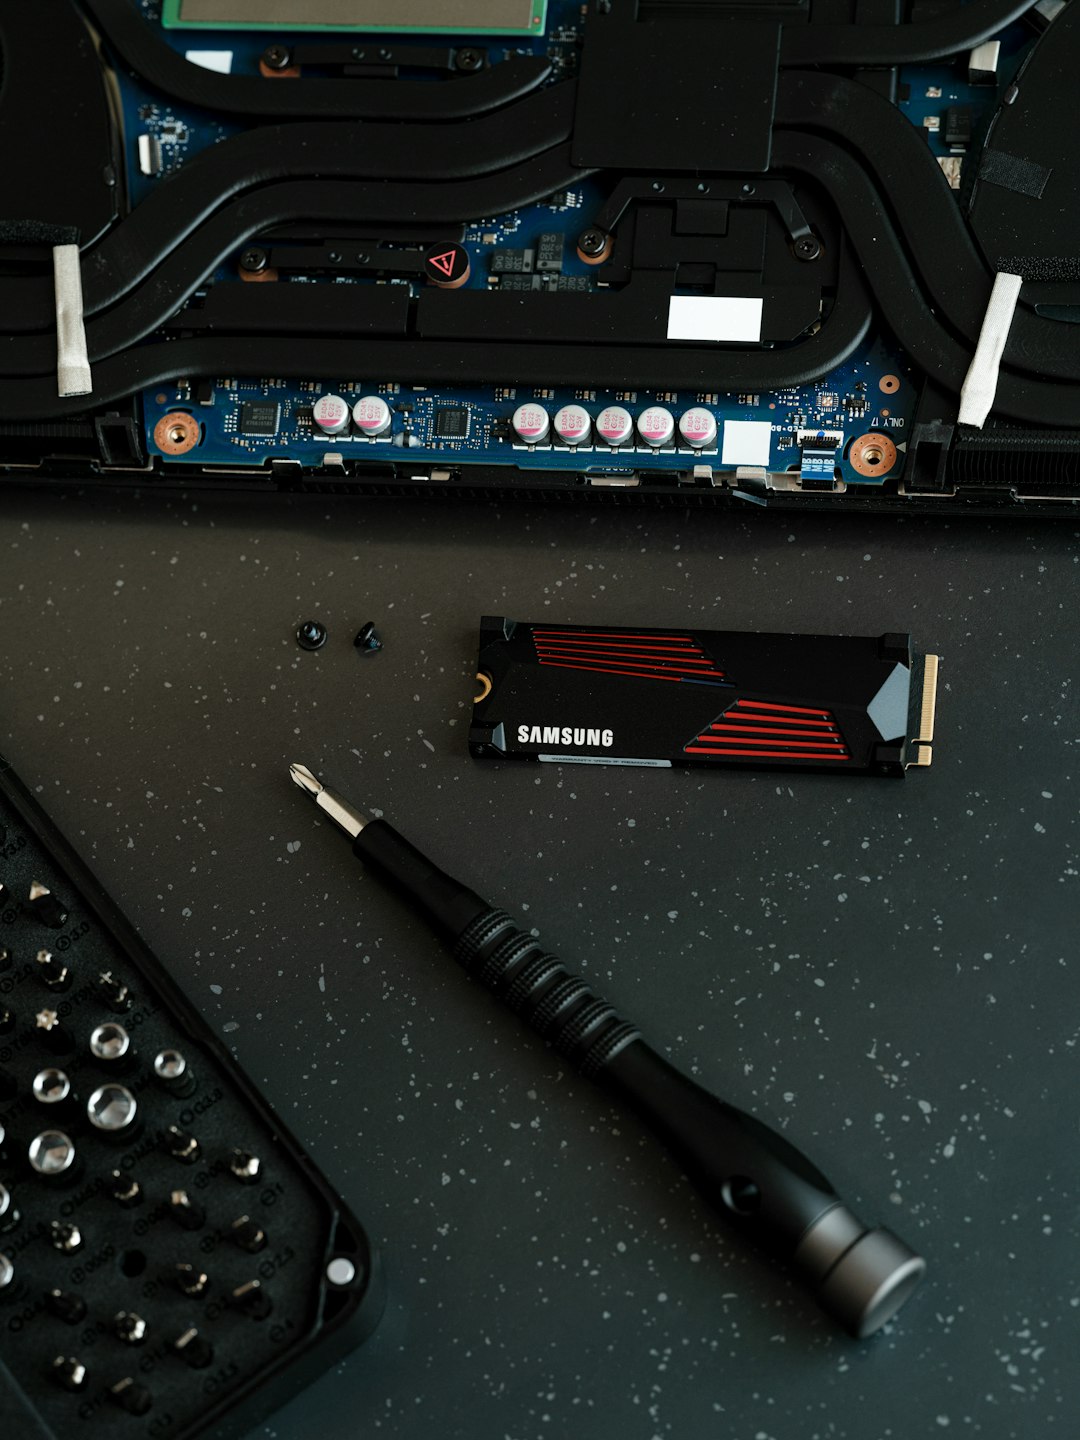
- Screwdrivers (typically Phillips #0 and #1)
- Replacement motherboard compatible with Eagle-1 Slide
- Thermal paste (if your CPU needs to be reinstalled)
- Thermal cleaner or rubbing alcohol (for cleaning old thermal paste)
Once your tools are prepared and you’ve secured a clean workspace, you’re ready to safely proceed with the replacement.
Step-by-Step Motherboard Replacement Process
1. Power Down and Disconnect All Cables
The first and most important step is to shut down the Eagle-1 Slide and unplug it from all power sources, including the power supply and attached peripherals. This ensures your safety and protects sensitive components from power surges. Don’t forget to discharge any residual power by holding the power button down for 5-10 seconds after unplugging the device.
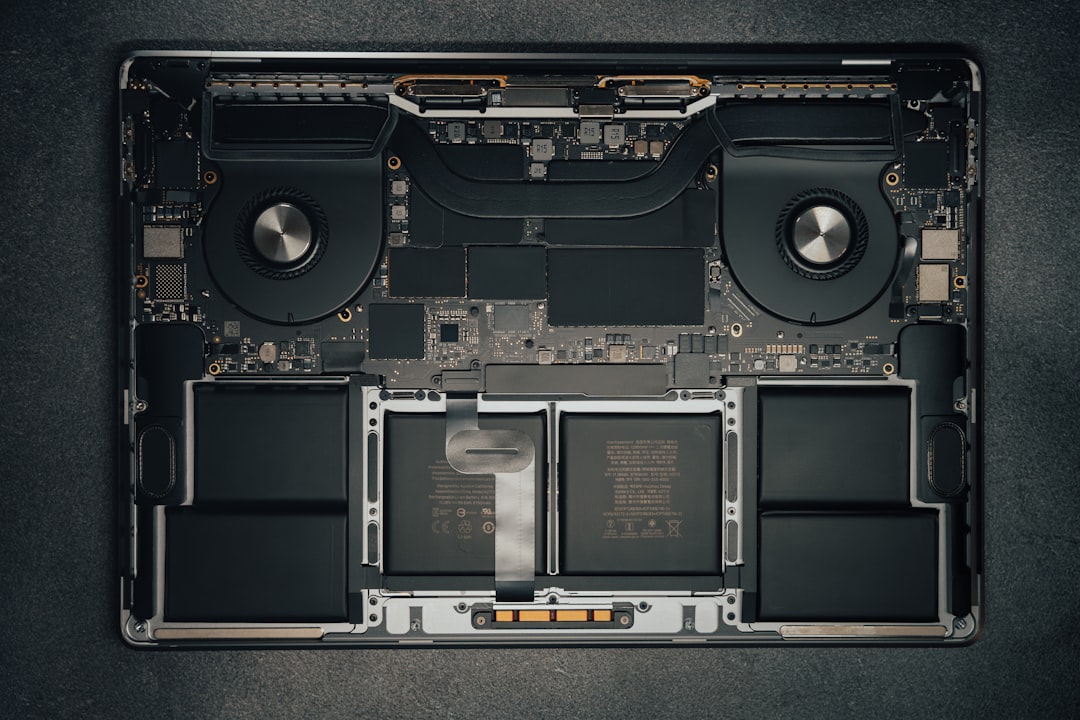
2. Open the Case
Carefully open the case following the manufacturer’s instructions. The Eagle-1 Slide typically has a sliding chassis that makes motherboard access simpler. Make sure you are grounded before touching any internal components.
3. Document Wiring Layout
Before removing anything, take clear pictures of the current motherboard layout and wire placements. This visual reference is crucial when installing the new motherboard.
4. Remove Existing Motherboard
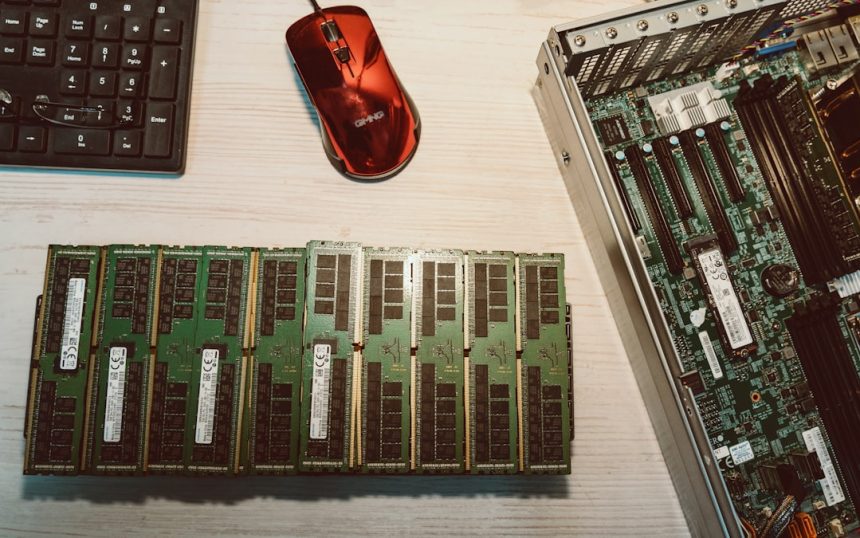
Start by disconnecting all the power connectors, data cables, and peripheral connections from the motherboard. Unscrew the mounting screws, being careful not to drop them into the case. Gently lift the motherboard out of the chassis. If reusing the CPU or RAM modules, carefully remove them and set aside in anti-static packaging.
5. Install the New Motherboard
With the old motherboard removed, align the new one using the same mounting points. Ensure the I/O plate matches ports on the new board. Secure it with screws, being careful not to overtighten. Reconnect all internal connectors exactly as pictured earlier. Reinstall the CPU and RAM if they are being reused.

6. Apply Thermal Paste (if needed)
If you removed the CPU, ensure thermal paste is re-applied before reattaching the cooler. A small pea-sized dot in the center of the CPU is sufficient. Carefully reattach the heatsink or cooler according to specifications.
7. Double-Check All Connections
Review each connector and slot to make sure everything is firmly seated. Power cables, front panel connections, RAM modules, and CPU pins must all be secure.
Final Steps and Testing
Close the case and reconnect external cables, including power. Turn on the Eagle-1 Slide. The system should POST (Power-On Self-Test) and recognize the new motherboard. If it fails to boot, power off and carefully inspect all connections. Pay special attention to:
- RAM seating position
- Power supply connectors
- Any short circuits or missing standoffs
If BIOS access is achieved, update firmware as needed and configure settings to match the hardware profile.
Helpful Tips for Beginners
- Take your time – Rushing increases the chance of mistakes.
- Label your cables during disassembly for easy reassembly.
- Consult the Eagle-1 Slide motherboard manual – each model may have unique installation procedures.
- Keep a magnetic parts tray for screws to avoid loss.
Motherboard replacement on the Eagle-1 Slide requires patience, precision, and attention to detail. By following this guide and respecting proper safety protocols, even beginners can carry out the replacement successfully. Remember, when in doubt, consult a certified technician to avoid critical damage to your hardware.