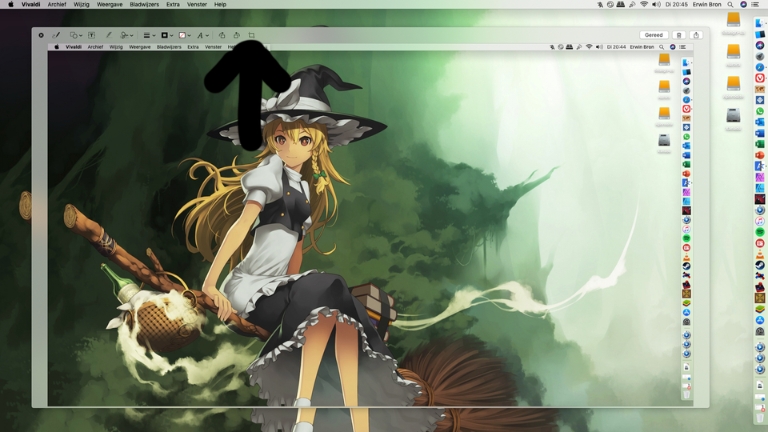
Taking screenshots is an incredibly useful tool for a Mac user. It allows you to capture anything that is displayed on your screen, and it can be a great way to document errors, save important information, or share something with others.
However, sometimes you may want to crop a screenshot to highlight a specific part of the image or to remove unwanted elements. Fortunately, there are several ways to crop a screenshot on a Mac. In this article, we will explore some of the most effective methods.
How to crop a screenshot on a Mac using Preview
Preview is a built-in app on your Mac that is designed for viewing and editing images. It is also a powerful tool for cropping screenshots. Here are the steps to crop a screenshot using Preview:
- Take a screenshot by pressing Command + Shift + 4. This will bring up a crosshair cursor that you can use to select the portion of the screen you want to capture.
- Once you have captured the screenshot, it will appear as an image on your desktop.
- Double-click on the screenshot to open it in Preview.
- Click on the “Show Markup Toolbar” button in the top right corner of the Preview window. This will bring up a toolbar with several editing tools.
- Click on the “Selection” tool in the toolbar. This will allow you to select the part of the image you want to crop.
- Drag the selection tool over the part of the image you want to crop. You can adjust the size and position of the selection by dragging the edges or corners.
- Once you have selected the part of the image you want to crop, click on the “Crop” button in the toolbar. This will remove everything outside of the selection.
How to crop a screenshot on a Mac using Snipping Tool
Snipping Tool is another built-in app on your Mac that is designed for capturing screenshots. It is a great tool for cropping screenshots because it allows you to capture only the portion of the screen you want to crop. Here are the steps to crop a screenshot using Snipping Tool:
- Press Command + Shift + 5 to bring up the screenshot toolbar.
- Click on the “Options” button in the screenshot toolbar. This will bring up a menu with several options.
- Click on the “Selection” option in the menu. This will allow you to select the part of the screen you want to capture.
- Use the crosshair cursor to select the part of the screen you want to capture.
- Once you have captured the screenshot, it will appear as an image on your desktop.
- Double-click on the screenshot to open it in Preview.
- Follow the steps outlined in section II to crop the screenshot using Preview.
You May Like Also: How To Restore Old Pictures Online
How to crop a screenshot on a Mac using third-party apps
There are several third-party apps available for cropping screenshots on a Mac. Here are a few popular options:
Snagit
Snagit is a powerful screen capture and editing tool that allows you to capture screenshots, record videos, and edit images. It has a built-in cropping tool that makes it easy to crop screenshots.
Lightshot
Lightshot is a free and lightweight screen capture tool that allows you to capture screenshots and edit them. It has a built-in cropping tool that makes it easy to crop screenshots.
Skitch
Skitch is a popular screen capture and editing tool that allows you to capture screenshots, annotate them, and edit them. It has a built-in cropping tool that makes it easy to crop screenshots.
Tips for cropping screenshots on a Mac
Here are a few tips to help you get the perfect crop when cropping screenshots on your Mac:
Use the right tool
There are several tools available for cropping screenshots on a Mac, so choose the one that works best for you. Preview and Snipping Tool are built-in tools that are easy to use, while third-party apps offer more advanced features.
Plan your crop
Before you start cropping your screenshot, think about what you want to highlight or remove. This will help you select the right portion of the image and get the perfect crop.
Use the grid
If you want to crop your screenshot to a specific aspect ratio or size, use the grid in Preview to help you align the selection tool.
Keep a copy of the original
Always keep a copy of the original screenshot in case you need to revert back to it later.
Practice makes perfect
Cropping screenshots takes practice, so don’t be afraid to experiment and try different methods until you find what works best for you.
Conclusion
Cropping screenshots is an essential skill for any Mac user, and there are several tools available to make it easy. Whether you use Preview, Snipping Tool, or a third-party app, the key is to plan your crop, select the right portion of the image, and practice until you get the perfect crop. With these tips and tricks, you’ll be able to crop your screenshots like a pro in no time.


